

Test-Driven Development: #6 Testing Alerts, Popups, and Messages
Now how do we test those pesky alerts?


Introduction
It's been a long time! Really happy that I have time to write about TDD again, and with an interesting topic from which we can know if our users had seen an alert, popups, or simply seen a message (toast) appearing to him
The Point?
How is this important, you ask?
Well, Imagine that our user is trying to log in but he is giving us an invalid email without him noticing, it would be nice to either show a message to him, saying that he missed a '@' in the email field
But what if after a couple of iterations over our app, and somewhere in version '1.4.3', this broke, and users no longer get a hint about why their email is not getting accepted, especially for an old user of our app, it might get irritating
However, if a test covers this; before we even launch any new version, this issue would be well on our issue tracker.
So this post we will cover how to cover such cases with a unit test coverage, and I think it would be interesting in showing how do I handle issues in my project in another post
Without further ado, let's get rolling 😎

Revisiting the project after some changes
Remember that last demo video I put on the previous post of this series?
Well, I did promise you guys that I will make improvements to the refactoring and I did,
It now utilizes my open-source OrdiKit which is a fast way for me to put files I use from time to time, or just wanna test an idea or probably launch a project, it utilizes SwiftUI and UIKit
I don't want to spend much time on what went on in the Refactoring, but there is an interesting part I believe, which is called ServiceLocator
It's a pattern from Game Development and is a bit strange in iOS development as it uses Singletons
Before you throw any knives in the comments, let's take a step back and see why is this put here
If we think about Network and Cache, normally these are 2 dependencies where the app depends on
They shouldn't be repeated or recreated, in fact, that would create a problem if am tracking the progress of some network calls, or am storing 2 stuff simultaneously on the disk
So it makes sense to have this as a single instance inside the ServiceLocator.
Other than that, we're ready to go test our side-effects in form of alerts
If we return to our Testing file TDDTests/Login/LoginTests
We can add a test function like so…
func test_GivenInvalidEmail_WhenLogin_UserSeesAnAlert() {
    // Given
    let email = ""
    let password = "Somevalid1Password"

    // When
    sut.login(email: email, password: password)

    // Then
    XCTAssertEqual(
      router.routingAction,
      RoutingAction.alert(ValidationError.empty(.email).errorDescription)
    )
  }
You will find that we want to have a new dependency called router, ideally the router would have its own state or action, so we can check if that action corresponds to what we want to verify, in our case, when the user forgets to pass his email, in such case we would want to show an alert (just for sake of simplicity for now), that he can’t leave his email blank
As of now, we don’t have such functionality so let’s start adding it to our production code
public typealias AlertAction = (title: String, style: UIAlertAction.Style, action: () -> Void)

public protocol RouterProtocol: AnyObject {
  func present(_ view: UIViewController)
  func startActivityIndicator()
  func stopActivityIndicator()
  func dismiss()
  func pop(animated: Bool)
  func popToRoot()
  func popTo(vc: UIViewController)
  func push(_ view: UIViewController)
  func alertWithAction(
    title: String?,
    message: String?,
    alertStyle: UIAlertController.Style,
    actions: [AlertAction]
  )
}
This is how our Routing functionality is going to provide, now let’s wait here and think what is going on
What we want, is an encapsulated access to our ViewController from the presentation layer, in our case, the LoginViewModel this encapsulation provides us with scoping to just the navigation functionality, so I can control the ViewController’s navigation from here, without having any access on the ViewController itself, let’s see how with extra details, by defining our Router Implementor
public final class Router: RouterProtocol {
  private weak var presentedView: UIViewController!

  init(_ view: UIViewController) {
    presentedView = view
  }

  public func present(_ view: UIViewController) {
    presentedView?.present(view, animated: true, completion: nil)
  }

  public func dismiss() {
    presentedView?.dismiss(animated: true, completion: nil)
  }

  public func pop(animated: Bool) {
    _ = presentedView?.navigationController?.popViewController(animated: animated)
  }

  public func popToRoot() {
    _ = presentedView?.navigationController?.popToRootViewController(animated: true)
  }

  public func popTo(vc: UIViewController) {
    _ = presentedView?.navigationController?.popToViewController(vc, animated: true)
  }

  public func push(_ view: UIViewController) {
    presentedView?
      .navigationController?
      .pushViewController(view, animated: true)
  }

  public func alertWithAction(
    title: String?,
    message: String?,
    alertStyle: UIAlertController.Style,
    actions: [AlertAction]
  ) {
    let alert = UIAlertController(title: title, message: message, preferredStyle: alertStyle)
    actions.map { action in
      UIAlertAction(title: action.title, style: action.style, handler: { (_) in
        action.action()
      })
    }.forEach {
      alert.addAction($0)
    }

    presentedView?.present(alert, animated: true)
  }
}
Notice the private access modifier before the controller? Exactly what we’re looking for
Giving our ViewModel The Power of Navigation
If we get back to our ViewModel, we can now hand it a router by dependency injection, and have it show the view an alert when needed
...
  var cancellables = Set<AnyCancellable>()
  var router: RouterProtocol

  init(router: RouterProtocol) {
    self.router = router
  }
...
func validate(_ email: String, _ password: String) {
    ...
    guard !errors.isEmpty else { return }
    state.send(.failure(errors))
    router.alertWithAction(
      title: "Validtion Errors",
      message: errors.map { $0.text }.joined(separator: "\n"),
      alertStyle: .actionSheet,
      actions: [
        (title: "Ok", style: .default, action: { })
      ]
    )
  }
If we ran and tested our code…
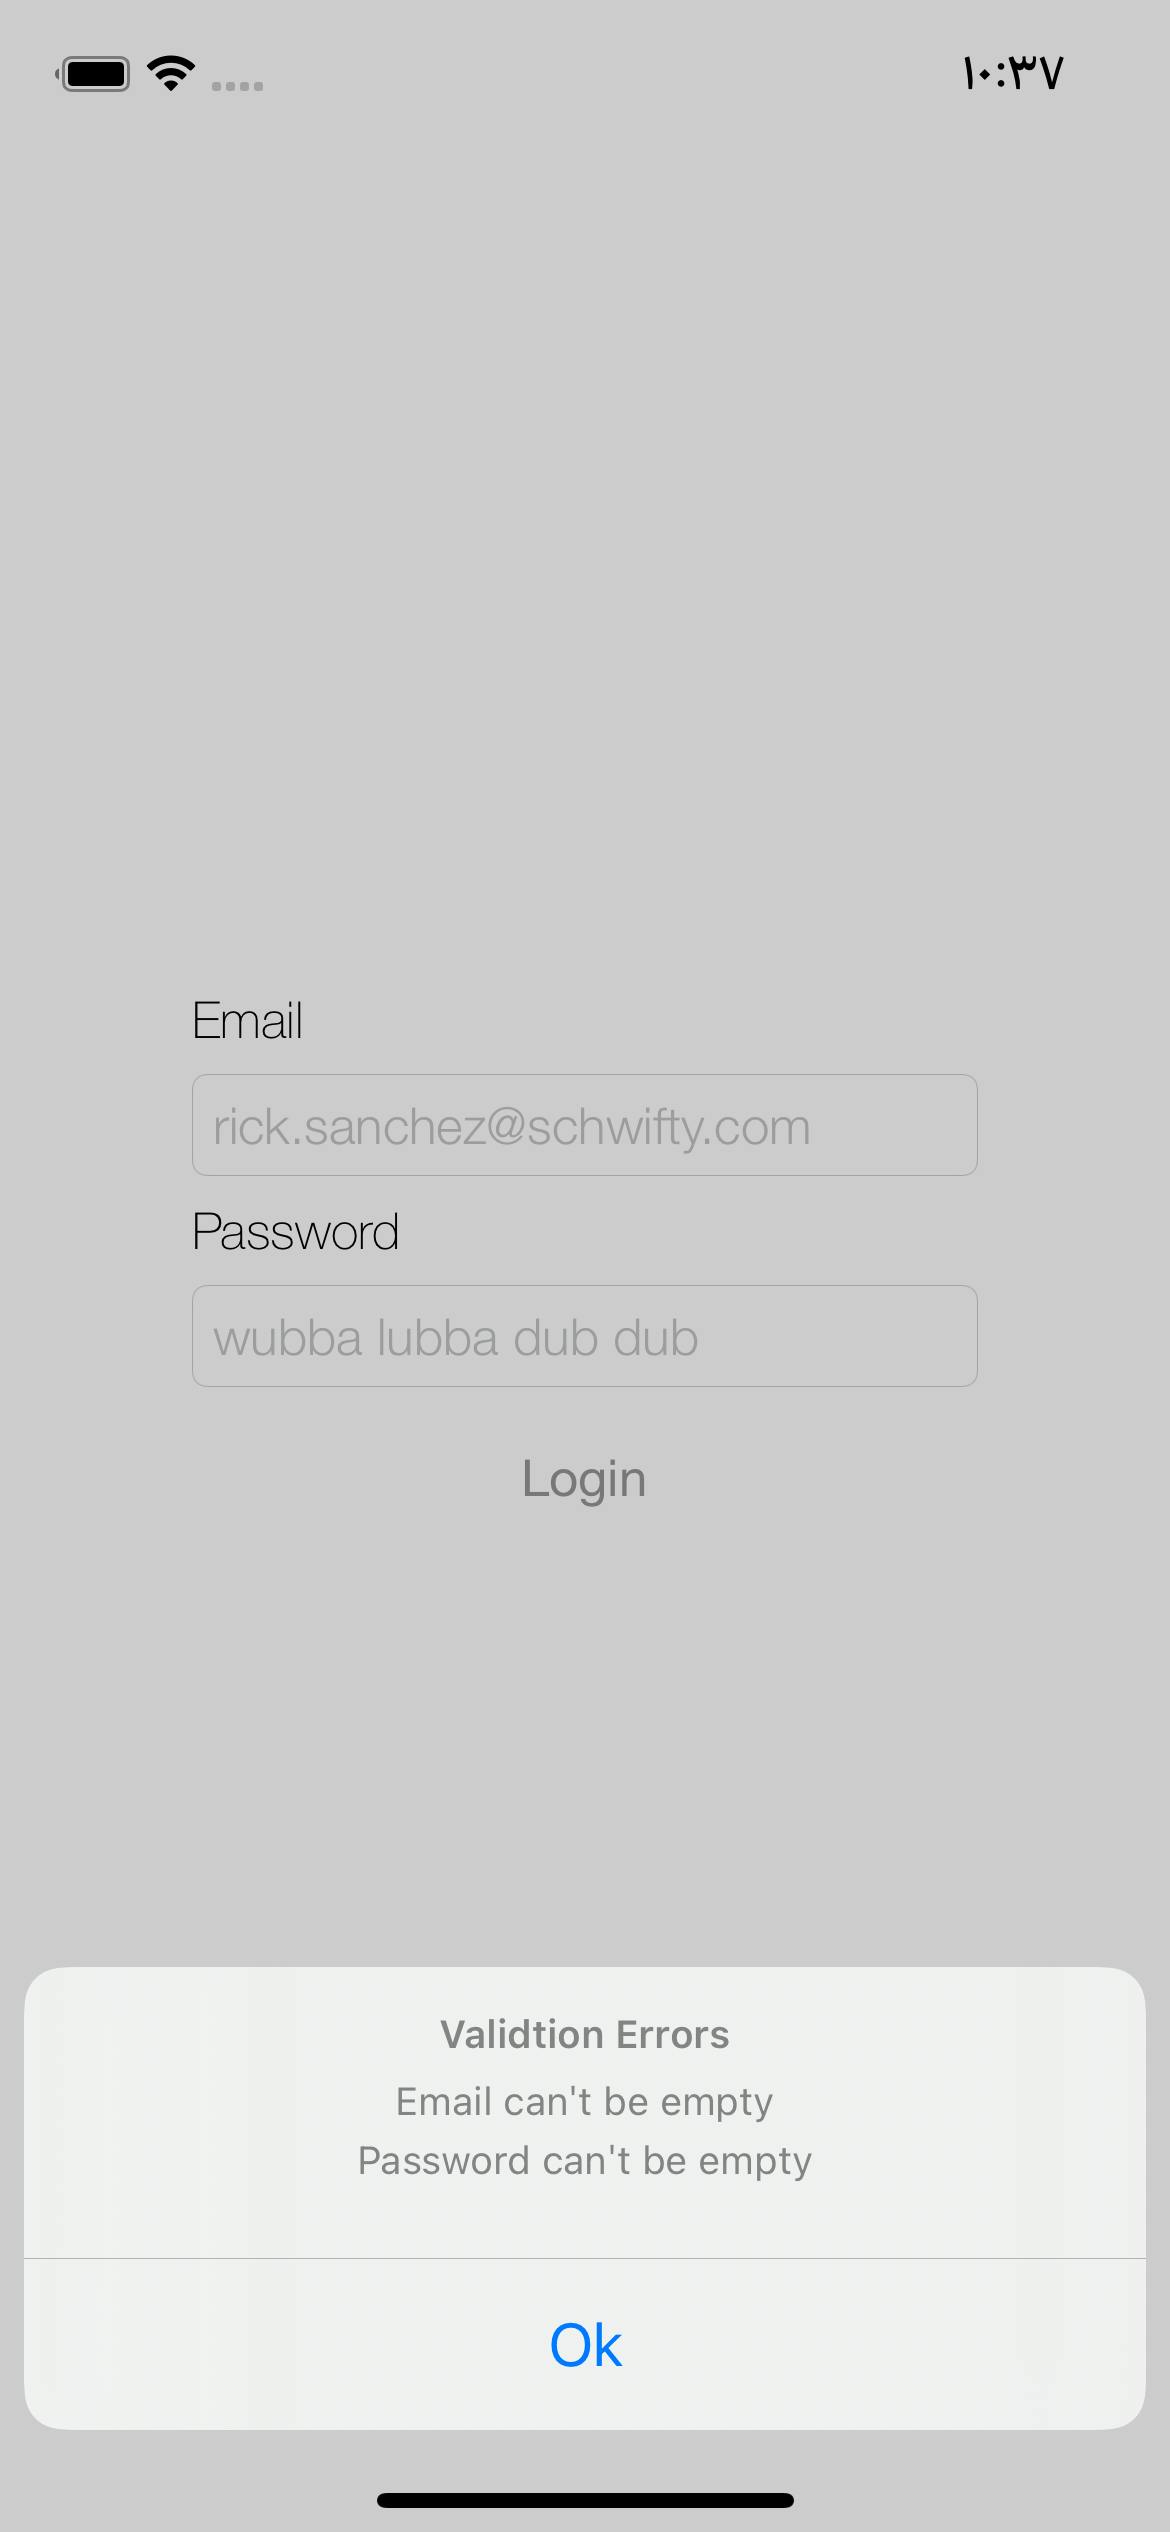
Voilà
Faking our Router until we make it
Now comes our testing code’s turn
First, we need to create a FakeRouter that gives us information about the navigation state
In order for us to have access to our navigation stack, we need to define a state enum, which holds the actions given to the router
enum RoutingAction: Equatable {
  case present(_ vc: UIViewController.Type)
  case push(_ vc: UIViewController.Type)
  case dismiss
  case pop
  case popToRoot
  case popToVC
  case popTo(_ vc: UIViewController.Type)
  case alertWithAction((title: String, message: String))

  static public func ==(lhs: RoutingAction, rhs: RoutingAction) -> Bool {
    switch (lhs, rhs) {
      case let (.popTo(a), .popTo(b)): return a == b
      case let (.present(a), .present(b)): return a == b
      case let (.push(a), .push(b)): return a == b
      case let (.alertWithAction(a), .alertWithAction(b)):
        return a.title == b.title && a.message == b.message
      case (.dismiss, .dismiss),
        (.pop, .pop),
        (.popToRoot, .popToRoot),
        (.popToVC, .popToVC):
        return true
      default:
        return false
    }
  }
}
This way, we can have an in-memory storage that we can use it later on, to test against whether the user did present a view, did push to a view, or simply gave an alert
And to wrap it up so we can continue on with testing…
final class FakeRouter: RouterProtocol {
  var actions: [RoutingAction] = []
  var alertActions: [AlertAction] = []

  func popToRoot() {
    actions.append(.popToRoot)
  }

  func popTo(vc: UIViewController) {
    actions.append(.popToVC)
  }

  func push(_ view: UIViewController) {
    actions.append(.push(type(of: view)))
  }

  func present(_ view: UIViewController) {
    actions.append(.present(type(of: view)))
  }

  func dismiss() {
    self.actions.append(.dismiss)
  }

  func alertWithAction(
    title: String?,
    message: String?,
    alertStyle: UIAlertController.Style,
    actions: [AlertAction]
  ) {
    self.actions.append(.alertWithAction((title ?? "", message ?? "")))
    self.alertActions.append(contentsOf: actions)
  }

  func pop(animated: Bool) {
    self.actions.append(.pop)
  }
}
Notice how we append the type to the actions array?, similar to our FakeCache, we just register it until the test has run, so we can later on test against if it indeed has a certain action that we expect it to be, or not.
Back to our tests, now we need to supply our SUT with a FakeRouter so we can test it
Wrapping it up
class LoginViewModelTests: XCTestCase {

  var network: FakeNetworkManager!
  var cache: FakeCache!
  var router: FakeRouter! // <- Changed
  var sut: LoginViewModel!

  override func setUp() {
    super.setUp()
    network = .init()
    cache = .init()
    router = .init() // <- Changed

    ServiceLocator.main = .init(network: network, cache: cache)

    sut = .init(router: router) // <- Changed
  }

  override func tearDown() {
    super.tearDown()
    network = nil
    cache = nil
    router = nil // <- Changed
    sut = nil
  }
Now that our LoginViewModel knows how to use our FakeRouter, let’s fix some of our test code below
func test_GivenInvalidEmail_WhenLogin_UserSeesAnAlert() {
    // Given
    let email = ""
    let password = "Somevalid1Password"

    // When
    sut.login(email: email, password: password)

    // Then
    XCTAssertEqual(
      router.actions,
      [
        RoutingAction.alertWithAction((
          title: "Validation Errors",
          message: "Email can't be empty"
        ))
      ]
    )
  }
And that’s it!

Conclusion
Now that we have a way of testing our Alerts, Popups, and Messages… or simply what I like to call them, Async Views, where a view cuts through the flow for the user to take an action then return to the normal flow We can now go to our next stop which is testing the our navigation flow, which by now you can guess how it really can be easy
Tell you what, how about you try to implement this on your own? You will be amazed by how easy it is now to test your navigation, and next stop we will go over it quickly and talk about something really important, which by now, the ViewModel became somewhat big, so let’s talk about how we can dissect it even further, so we can avoid going from ‘MVC’ to ‘MVVM’ (aka, massive view controller, to massive view model) 😉
And if you’re an eager one and wants to know our progress on Github, feel free to see the code here