


Test-Driven Development: #7 Navigation
Navigate me to the moon, let me sing, among the bugs 🎙📢


Introduction
Hey hey, so we’re back for a quick one today, which is navigation, let’s start it with a good question 🙋♂️
Did you try implementing last blog post’s challenge of doing it on your own?

Well, fear not, because we’re here to fix that!

Enters Navigation
Last time we talked was about displaying alerts, since we have a private access to the current visible Controller, we can do navigation access on it, all while encapsulating it, but first, let’s imagine how our tests would be, so you can also learn the thought process
Imagining the Code in Tests
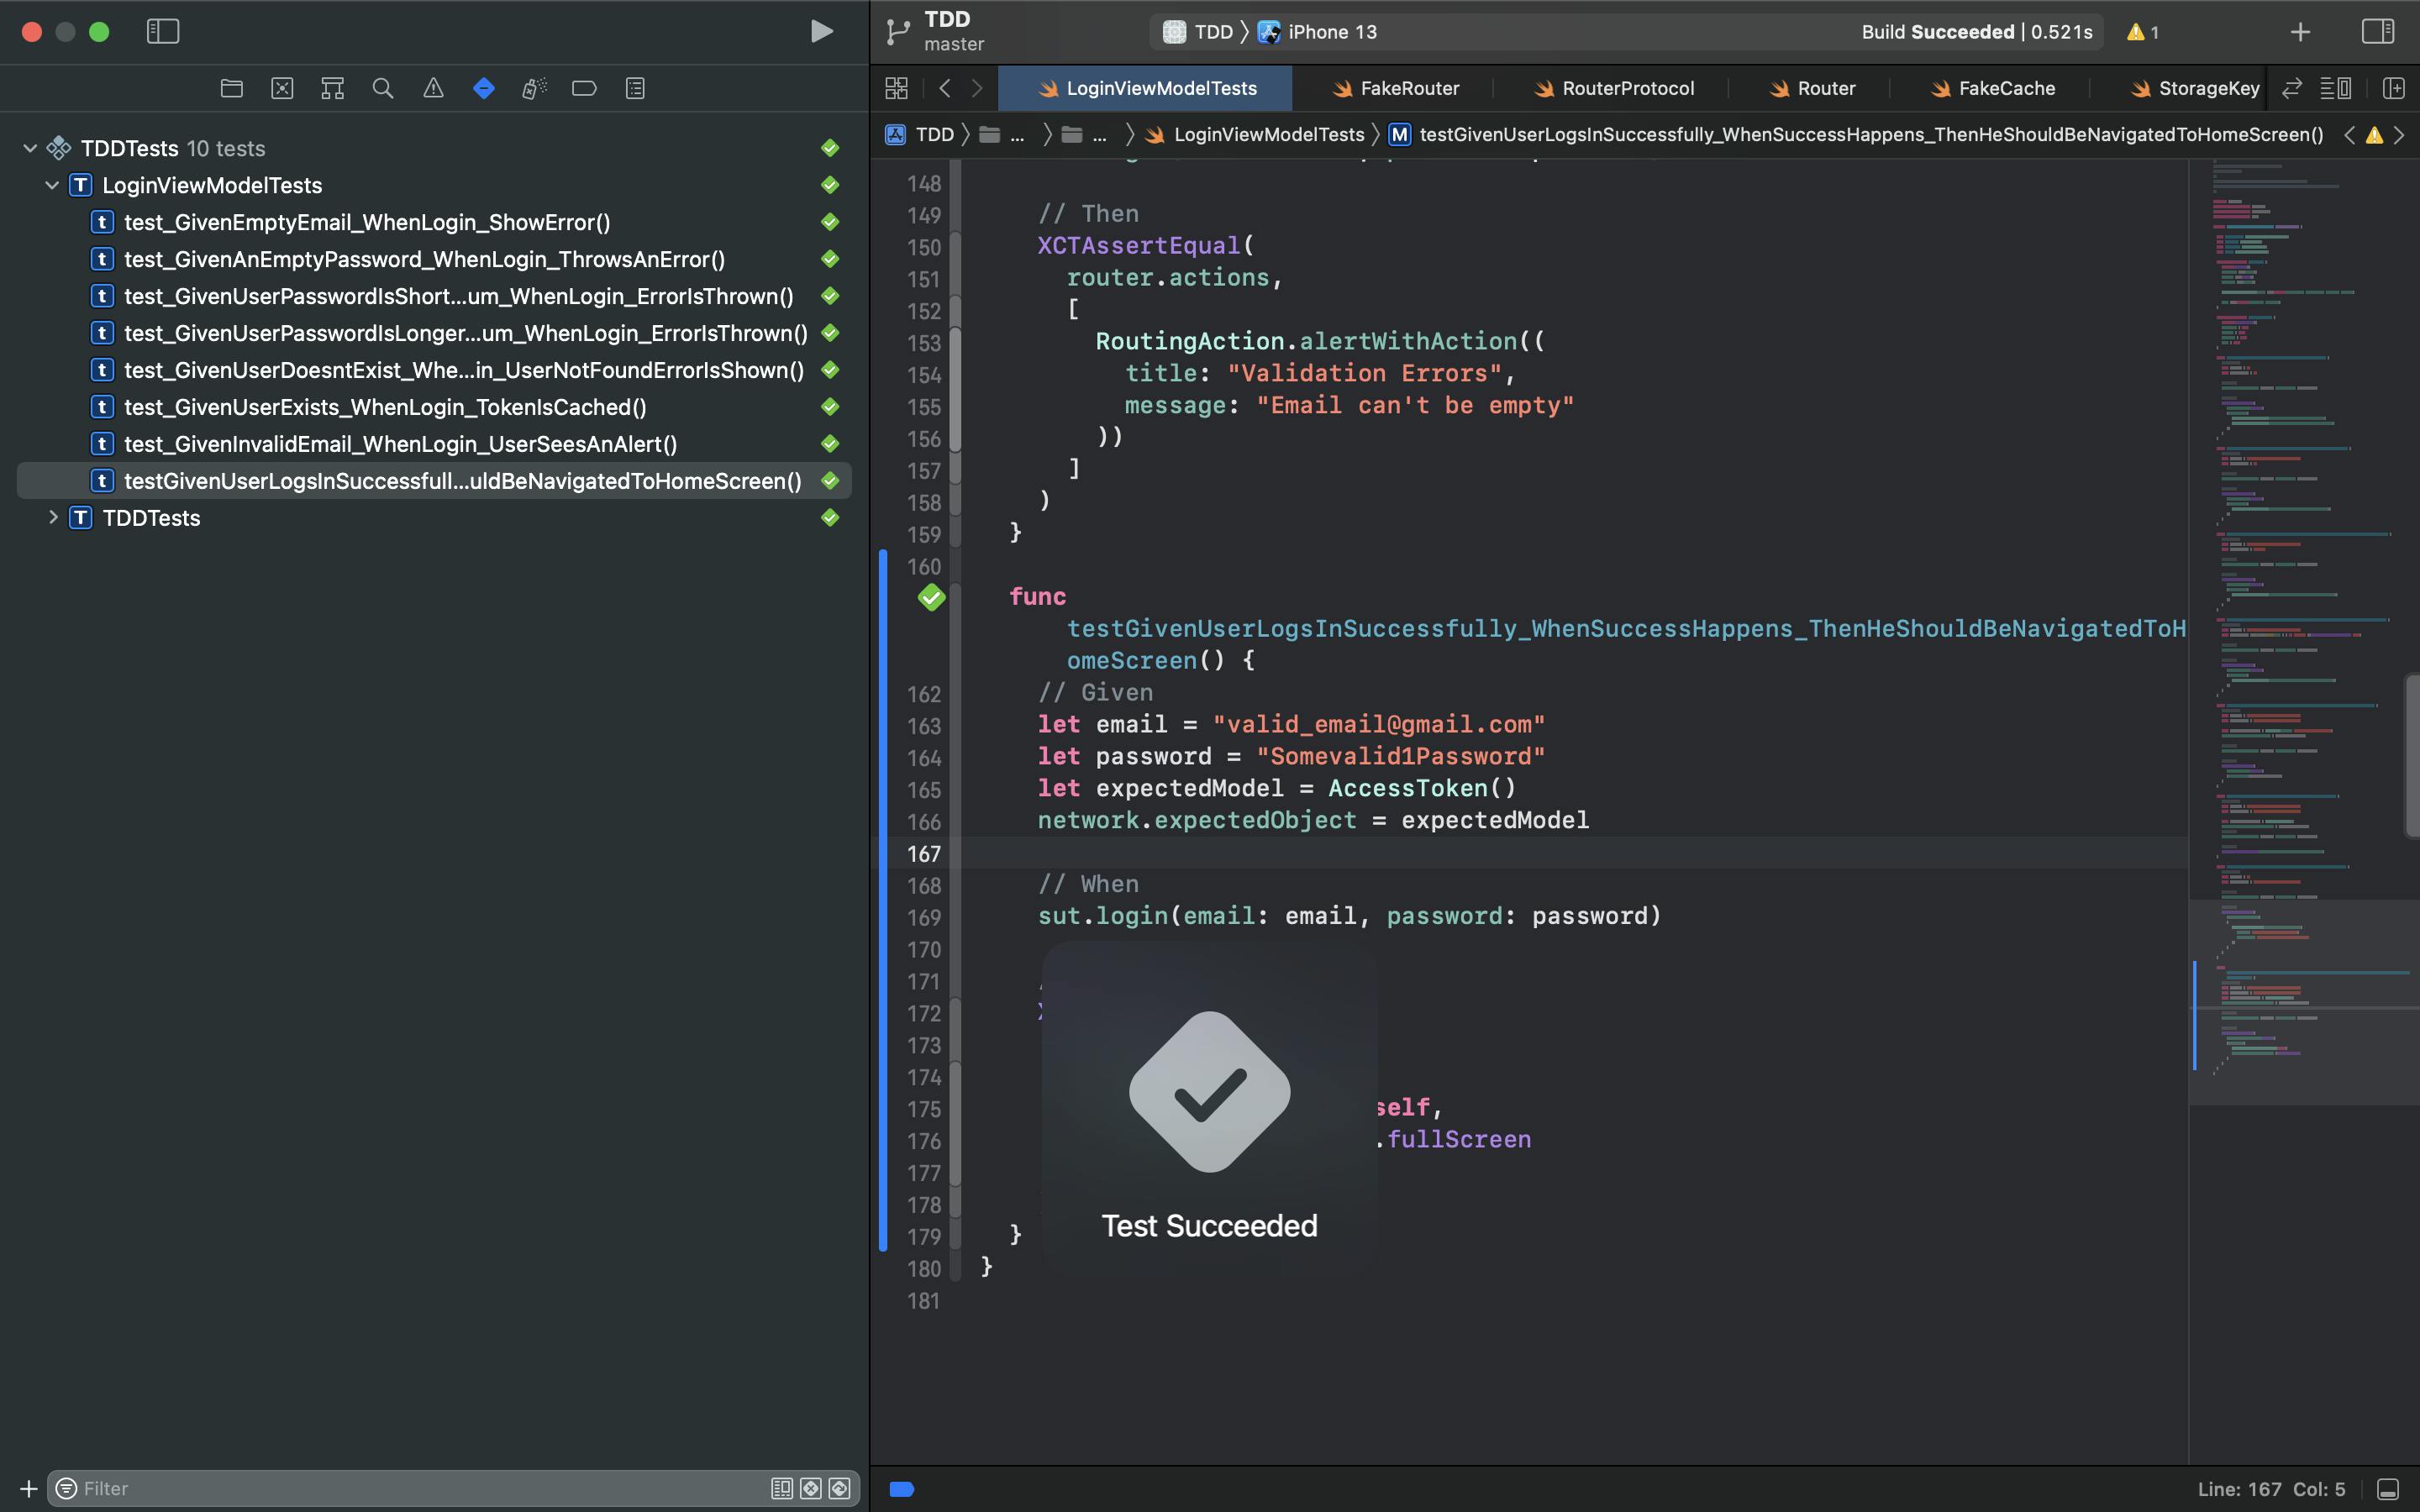
func testGivenUserLogsInSuccessfully_WhenSuccessHappens_ThenHeShouldBeNavigatedToHomeScreen() {
    // Given
    let email = "valid_email@gmail.com"
    let password = "Somevalid1Password"

    // When
    sut.login(email: email, password: password)

    // Then
    XCTAssertTrue(
      router.actions.contains(
        .present(
          HomeViewController.self,
          presentationStyle: .fullScreen
        )
      )
    )
  }
So what I want at the end is something that tells me, hey, the type of the controller u passed is HomeViewController, and the presentation style is fullScreenPresentation
💡 For those reading outside iOS background, the fullScreen presentation is needed here as there are two types of presenting a screen, so we specify that here to avoid returning back to the login screen without a need, hence reinforcing our navigation logic
Now that we have an imagination in place of how our APIs would look like, let’s try to implement them
Making it real
private extension LoginViewModel {
  func validate(_ email: String, _ password: String) {
    ...
    router.alertWithAction(
      title: "Validation Errors",
      message: errors.map { $0.text }.joined(separator: "\n"),
      alertStyle: .actionSheet,
      actions: [
        (title: "Ok", style: .default, action: { [weak self] in
          self?.state.send(.idle) <- Added
        })
      ]
    )
  }
}
First, let’s reset our state to idle once the user dismissed the alert sheet, this way we can have a better state handling
Sneak peak into the future of this Series
Second, in our login method, we can edit the implementation to go to a pre-built ViewController called HomeViewController where we will later on build an mini part of an E-Commerce app, so that we can later on test Common E-Commerce logic
public func login(email: String, password: String) {
    validate(email, password)

    guard state.value.errors.isEmpty else { return }

    ServiceLocator.main.network.call(
      api: AuthEndpoint.login(email: email, password: password),
      model: AccessToken.self
    ).sink(receiveCompletion: { onComplete in
      guard case let .failure(error) = onComplete else { return }
      self.state.send(.failure([error.toOError()]))
    }, receiveValue: { [weak self] token in
      guard let self = self else { return }
      try? ServiceLocator.main.cache.save(value: token, for: .accessToken)

    // Addition starts
      self.router.present(
        HomeViewController(),
        presentationStyle: .fullScreen
      )
    // Addition ends
    }).store(in: &cancellables)
  }
You will notice the pattern that we’re trying to reach now, we are testing if Home screen was pushed to the UI after a successful login
Note: We don’t call an actual API, WE’RE THE API 😎 Just kidding, indeed we don’t have an API, but that’s the power of Fake, where we can later on have our API installed in a backend server, and we can replace the contract with ease 🎉
Green Checkmarks
What comes next is seeing the green check marks ticking into our tests, and a safety net if something broke
Conclusion
What we did today was a good way of integration testing, as you can see we are testing if the user gets routed correctly as per the business, when logging in, there might be a case that I decided to not do in the current project since it’s too simple and lots of setup is needed to make it possible which is automatically routing the user to Home after he logs in correctly
If you’re looking for pointers on how to do this, here are some steps you can follow and some ideas
- Programmatically launch Home or Login if the user already logged in once by finding the Access Token in the Cache/Storage
- Introduce the concept of Coordinator, which programmatically (not in the Interface builder) determines which screen is required to be present
I think it’s time to close down this series 🥲

Anyway, I’ve been thinking on writing a series on The Composable Architecture (TCA), and it’s time to introduce a video series about building a chat app using it 😆
It’s been exciting dealing with TCA so far and how it makes it easy to work with SwiftUI
So next stop is returning to the good old Redux series