Test-Driven Development: #3 Testing Network
Networking, Caching & Other hardships one may struggle with to start doing TDD
Networking is always at my neck when I build up some willpower to start testing and doing TDD in my new feature, in the end, I decided to just drop it and get on with developing the feature
Introduction
Hi There! Been a while since I wrote my last blog post, and am happy and excited to get back to it!
I decided to return to this mini TDD series in iOS and decided to rewrite the app in SwiftUI along with a couple of neat tricks I picked up since I last wrote about this subject, so folks, you are in for a ride!
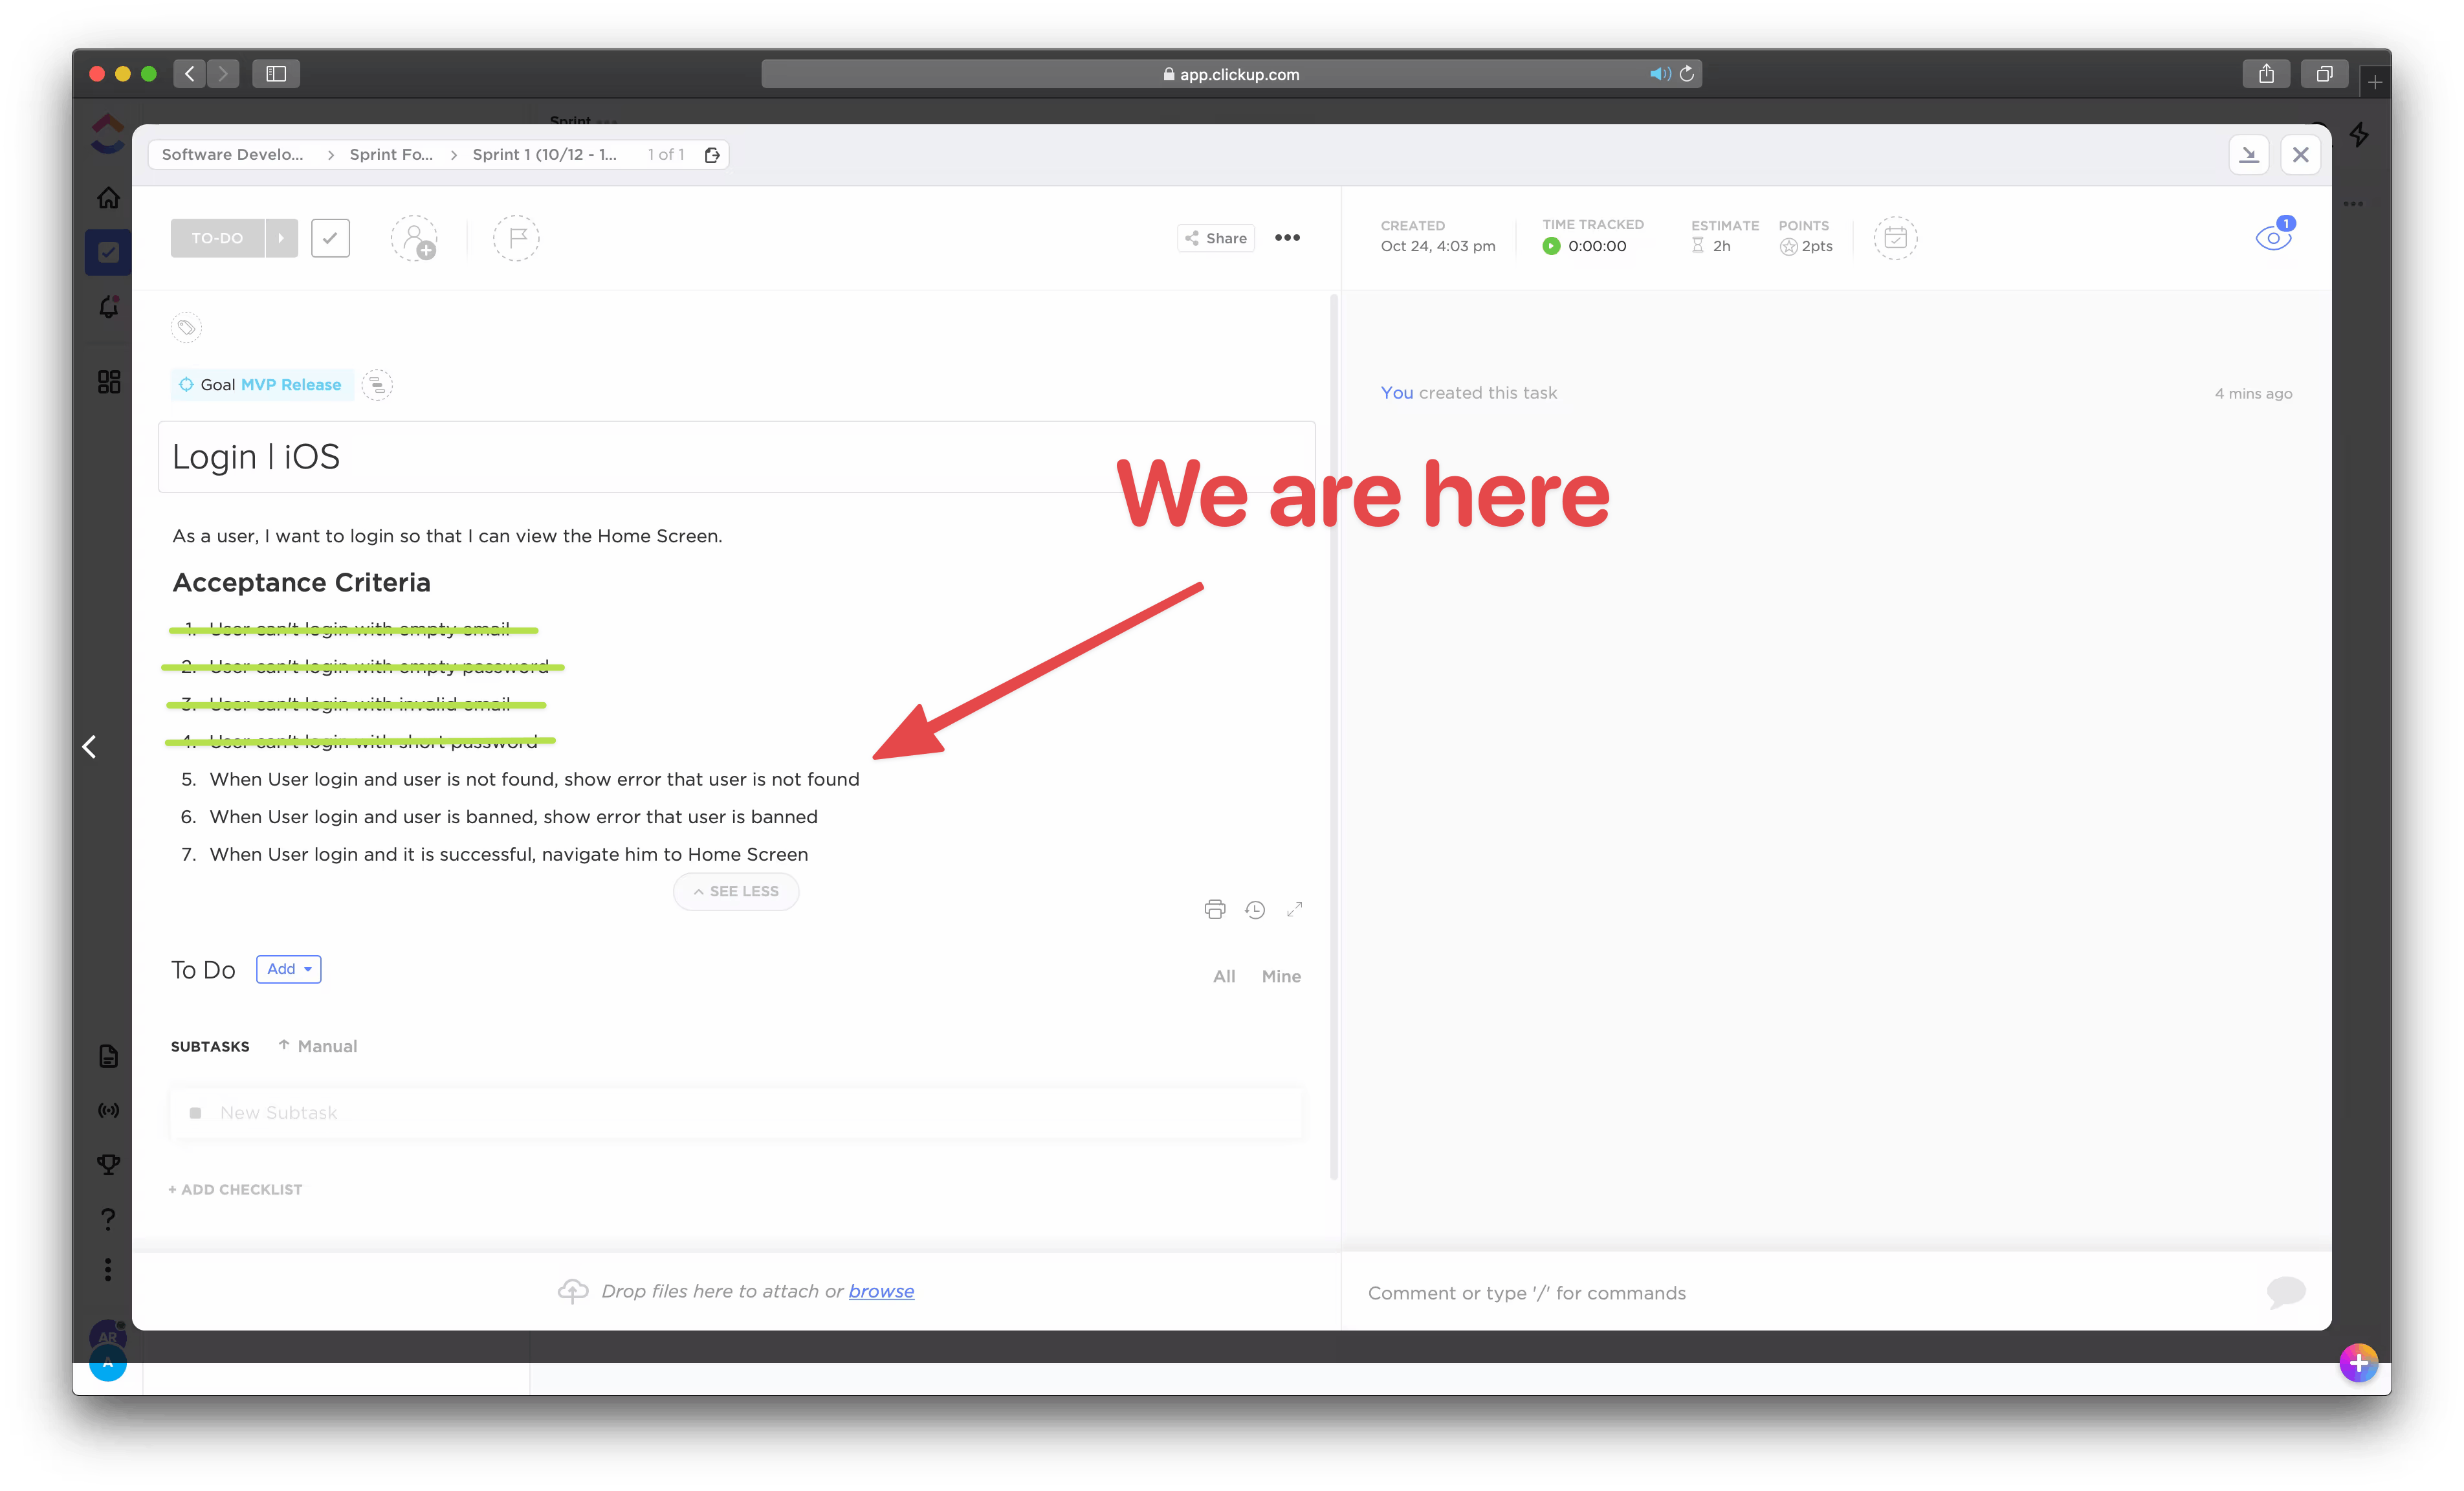
Alright, let's get back to our feature ticket

So, we need to test that after we send our login request to the auth service, we take action based on the response, so let's continue our tests then.
If we start adding such features with TDD, we can end up with our current knowledge with something close to this
func test_GivenUserDoesntExist_WhenLogin_UserNotFoundErrorIsShown() {
  // Given
  let email = "valid_email@gmail.com"
  let password = "Somevalid1Password"

  // When
  sut.login(email: email, password: password)

  // Then
  sut.networkErrors.contains(NetworkError.userNotFound)
}
Problem?
While this may seem wrong on so many levels (and you're right to think so), but let's see why this is wrong
- We have no control over the scenarios that may arise
- We are under the mercy of the real-life situation
- For this test to work, we need to make sure that such "user" is not there on our backend, and even so, it may also fail
- We have to wait for the network to request and respond, hence taking too much time
Wouldn't be great, if there was some way to 'order our network around' to respond with what we like, without waiting and whenever we want? even in cases where the backend may have not implemented it?
Figuring it out
Well, I know some guy who can get this done, it goes by, 'The Mock'
Well then, now that we have Mr. Mock here, let's first learn why did we pick Mocking instead.
Yea, we won't be doing much Role-play this post, but hopefully, if it was appealing enough, I'd add them more
We want to mock our backend, in a way that gives us control over it, without actually talking to it or having any control over it, with an end goal of triggering specific behavior and verifying it
With that said, to create something effective, let's imagine our Mocked Network in the test code, so we know what we would want to write
func test_GivenUserDoesntExist_WhenLogin_UserNotFoundErrorIsShown() {
    // Given
    let email = "valid_email@gmail.com"
    let password = "Somevalid1Password"

    network.expectedError = NetworkError.userNotFound // <- Added

    // When
    sut.login(email: email, password: password)

    // Then
    XCTAssertTrue(sut.networkErrors.contains(NetworkError.userNotFound))
  }
Now, that seems a bit reasonable from a logical perspective, we are telling the network that, upon firing the next request, you should return an error, now comes the part where we build that mocked network
First things first, let's stop for a second, as a Network, what do I expect from it?
Creating a request and waiting for a response so we can handle it
Enters Protocol-ing
Let's start with a protocol that makes sure our network conforms to it and I'll say why soon
protocol NetworkProtocol {
    func call<Input: Endpoint, Output: Codable>(
        api: Input,
        expected: Output.Type,
        onComplete: (Result<Output, NetworkError>) -> ()
    )
}
You might be wondering, why did we have to introduce a protocol, but there are a couple of reasons for this
- With a protocol, we can convert the dependency of our modules from being implicitly coded inside our ViewController's code or in the ViewModel to an outer class or module, hence, avoiding Massive View-Controllers/Models
- Also if a class conforms to such protocol, we can easily exchange (substitute) it during production (Try imagining having modules that depends on URLSession Networking and others that uses Alamofire)
- We can test it!
With that said, now let's try to understand what we wrote above, you'll be seeing that we are utilizing generics to cut down on our code that needs to be written, so let's start breaking it down
Endpoint is going to be a protocol that describes the requirement of our backend for such API/Endpoint, we denoted this as 'Input' in our protocol contract
Output is anything that conforms to Codable
And in case that an error occurred, we expect the network to return it as a NetworkError where the following layers can adapt to something It can deal with
Now, you may see that we are using undeclared types until now, so let's declare it
public typealias HTTPHeaders = [String: String]
public typealias HTTPParameters = [String: Any]

public protocol Endpoint {
    var baseURL: String { get }
    var path: String { get }
    var headers: HTTPHeaders { get }
    var parameters: HTTPParameters { get }
    var encoding: ParametersEncoding { get }
    var method: HTTPMethod { get }
}

public enum HTTPMethod: String {
    case GET
    case POST
}

public enum ParametersEncoding {
    /// Encodes the parameters as url query parameters
    case urlEncoding
    /// Encodes the parameters in the body of the request
    case jsonEncoding
}
Here you'll see that we've declared all our required information for us to connect with an API, having it as a protocol gives us the ability to create EndpointRequests that conforms to it, even better, we can do what Moya does best, which is structure the request in a clear way, but that comes soon, not now
Note, we can add an extension to add default values to our properties so we can avoid duplicating code 💡
Now, declaring our NetworkError type
enum NetworkError: Error {
    case userNotFound
}
Now that we've declared all our needed types so the app can compile, we can get back to 'Mr. Mock'
final class MockedNetwork: NetworkProtocol {
    var expectedError: NetworkError?
    var expectedModel: Codable?

    func call<Input: Endpoint, Output: Codable>(api: Input, expected: Output.Type, onComplete: (Result<Output, NetworkError>) -> ()) {
        if let expectedModel = expectedModel as? Output {
            onComplete(.success(expectedModel))
        } else {
            onComplete(.failure(expectedError ?? .userNotFound))
        }
    }
}
You will see that we are controlling the flow coming from the network using these two variables expectedError, and expectedModel, and if we go back to our testing code, we just need to educate our testing class about the new MockedNetwork
  override func setUp() {
    super.setUp()
    network = .init() // <- Added
    sut = .init()
  }

  override func tearDown() {
    super.tearDown()
    network = nil // <- Added
    sut = nil
  }
if we ran our test, you will see that it fails
And that's normal, the thing is, our ViewModel is still clueless about how will it authenticate our user, so let's change that
Connecting things together
First, we need to inject our network to the ViewModel through its init, only this time, we will be using our protocol, so we can substitute it whenever we need
public class LoginViewModel {

  public var validationErrors: [ValidationError] = []
// -- Addition Starts --
  let network: NetworkProtocol

  init(network: NetworkProtocol) {
    self.network = network
  }
// -- Addition Ends --
...
}
Then, we can call the login endpoint to authenticate us, but first, we need to declare that endpoint in our 'Moya' way
enum AuthEndpoint {
  case login(email: String, password: String)
}

extension AuthEndpoint: Endpoint {
  var path: String {
    switch self {
    case .login:
      return "login"
    }
  }

  var parameters: HTTPParameters {
    switch self {
    case let .login(email, password):
      return [
        "email": email,
        "password": password
      ]
    }
  }

  var method: HTTPMethod {
    switch self {
    case .login:
      return .POST
    }
  }
}
Neat, now we can safely call our backend to login
func login(email: String, password: String) {
  if email.isEmpty {
    validationErrors.append(.emailIsEmpty)
  }

  guard validationErrors.isEmpty else {
    onError?(validationErrors)
    return
  }

// -- Addition Starts --
  self.validationErrors.removeAll()
  self.networkErrors.removeAll()

  network.call(
    api: AuthEndpoint.login(email: email, password: password),
    expected: User.self) { results in
      switch results {
      case let .success(user):
        print(user)
      case let .failure(error):
        self.networkErrors.append(error)
      }
    }
// -- Addition Ends --
}
Now that we managed to build the base of our structure, and that when a user is not found from our backend, we have a way of showing the user just that
Now in the next Blog Post, we will take this further by testing a scenario where, if the user does exist, we go to the next screen greeting our user
Conclusion
Not only did we manage to learn how to use Liskov's Substitution and Dependency Inversion, but we also utilized this knowledge into testing our Network code by asserting if the app does the required behavior or not
If you're interested in checking out the code so far, there ya go

